When sizing a JPEG image for the web, especially for display on screens, you typically want to consider both the dimensions in pixels and the resolution (dots per inch - dpi). Here's a step-by-step guide on how to properly size a JPEG image to 72 dpi and a width of 600 pixels.
When saving a JPEG image for the web and considering naming conventions, it's a good practice to use lowercase letters and hyphenate multiple words to enhance readability and consistency.
For example...An image named John Smith.jpg should be named john-smith.jpg before being uploaded to the site.
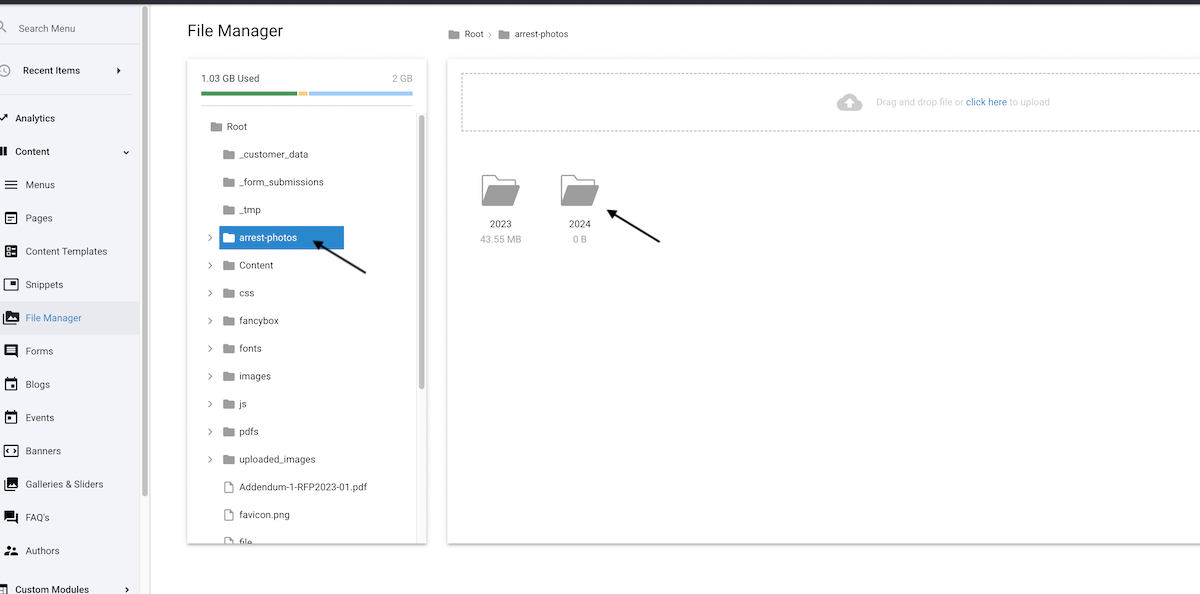
Once you have the image properly sized and named you'll want to be sure to upload into the proper folder using the File Manager tab.
Beginning in 2024 please place your images in the folder labeled arrest-photos/2024 folder.
Here is an image below to help find this path.
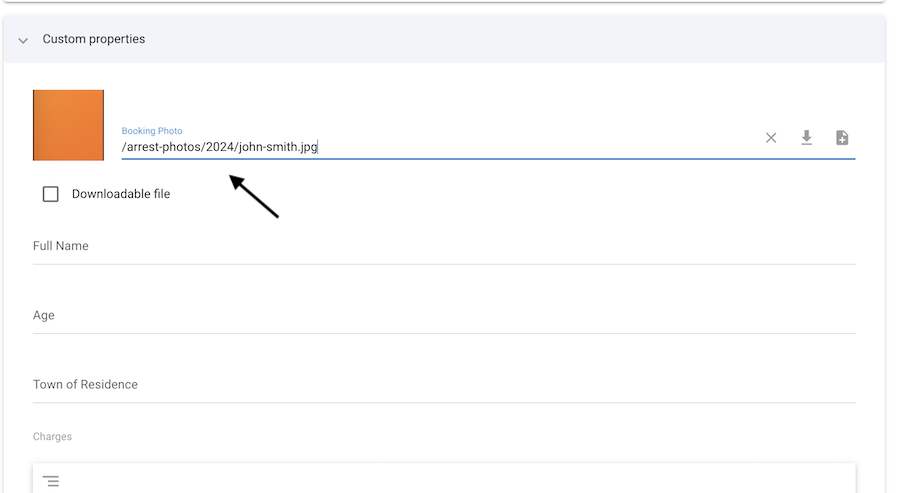
Once you have your image saved and uploaded into the correct folder you can add your new item into the Daily Arrest Reports 2024 custom module.
Here is an example of our john-smith.jpg entry.